In short
- Clear access to the boiler, the stopcock, the gas meter and the loft before the installer arrives.
- Heating and hot water are off for most of the day while the system is drained and refilled.
- A straight swap in the same place is a much shorter job than changing type or position.
- Cleaning the system and fitting a magnetic filter are usually part of the job, not an extra.
- You should finish the day with the commissioning record, the warranty registration and the Building Regulations notification.
Most home boiler replacements follow the same order, whatever is being fitted. Knowing that order makes the day easier to plan around, and it makes it easier to tell whether things are going well.
This is a normal replacement in a lived-in house. Changing type or moving the boiler adds steps rather than changing them.
The week before
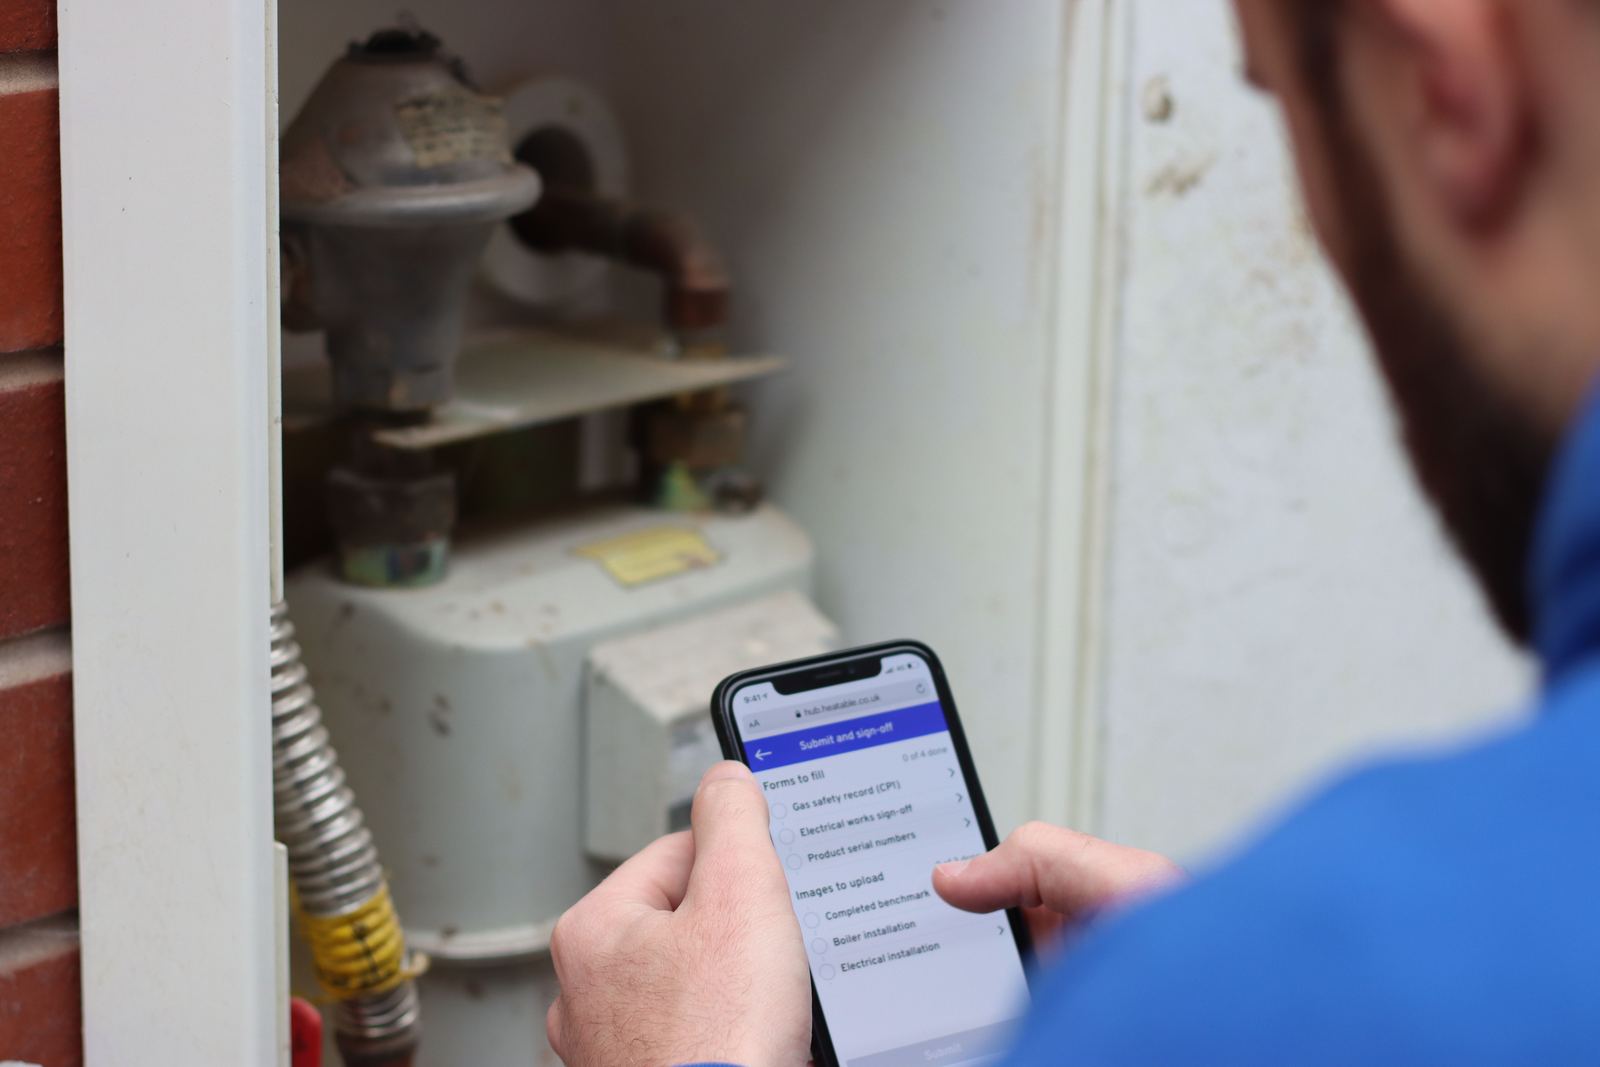
Clear the space around the boiler and a route to it. Empty the cupboard it sits in, and make sure the installer can reach the stopcock, the gas meter, the fuse box and, if there are tanks, the loft hatch.
Agree in writing what is being removed, what making good is included and where the condensate pipe will run. That pipe is the detail most often left vague, and it decides whether a hole goes through a wall you care about.
Arrival and switching off
The first half hour is checks: confirming the boiler on the van is the one quoted, looking again at the flue route and checking the gas supply can carry the new boiler.
Then everything is switched off: gas at the meter, water at the stopcock, power at the fuse box, and the heating is drained. From here you have no heating or hot water until the system is refilled.
Out with the old
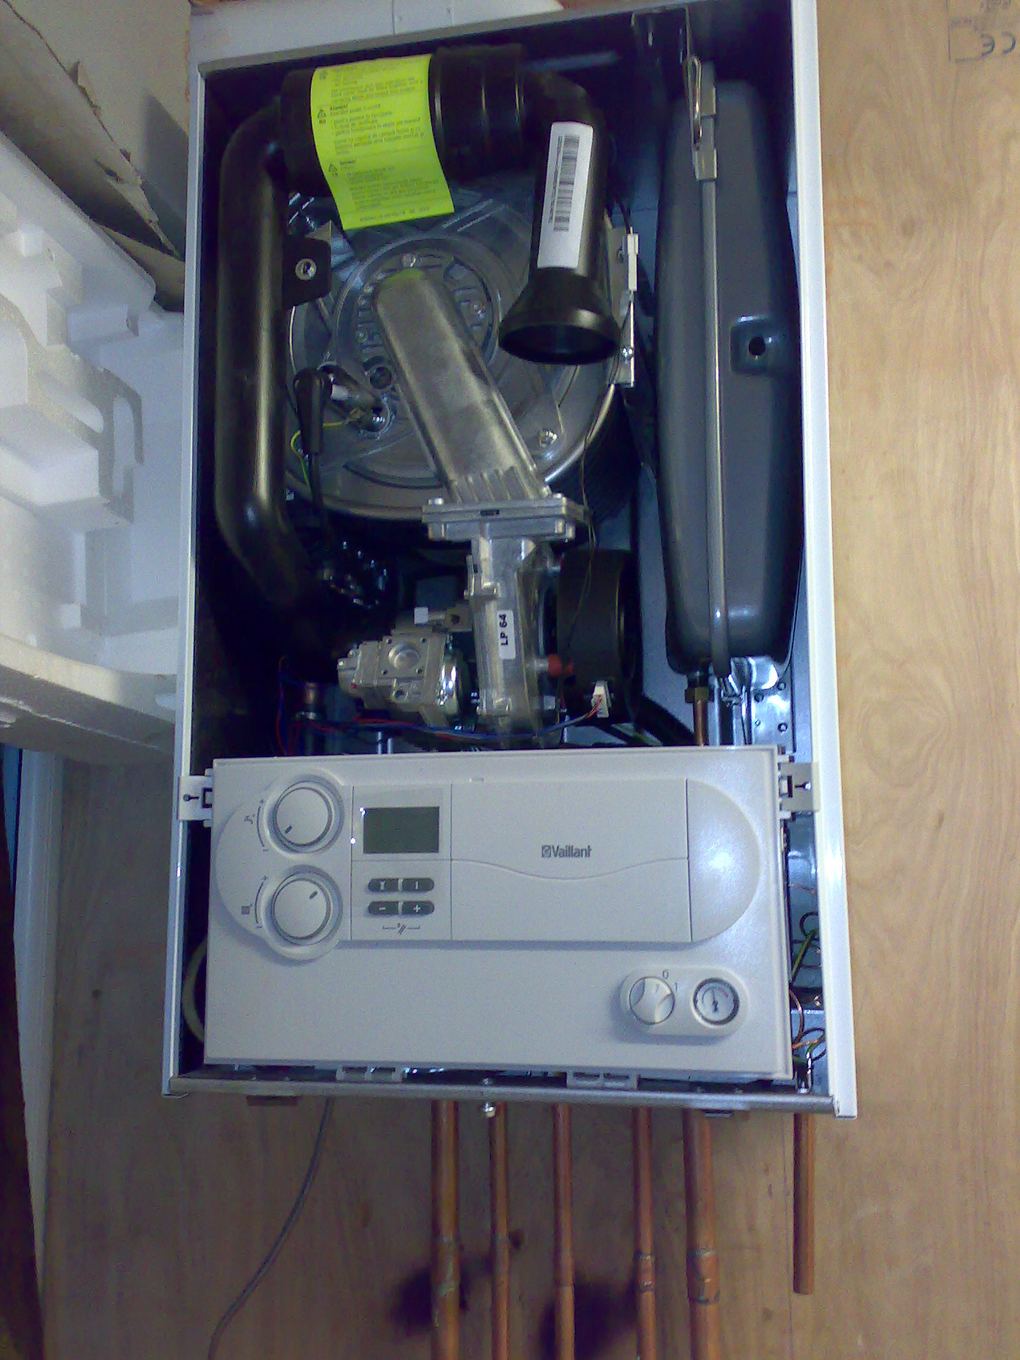
The old boiler is disconnected and taken off the wall, and its flue is removed. On a conversion this is also when the cylinder and loft tanks come out, usually the messiest hour of the day.
Old pipework gets checked as it is exposed. Corroded fittings and undersized gas pipe are easier to deal with now, and a good installer shows you anything they want to change before changing it.
Cleaning the system
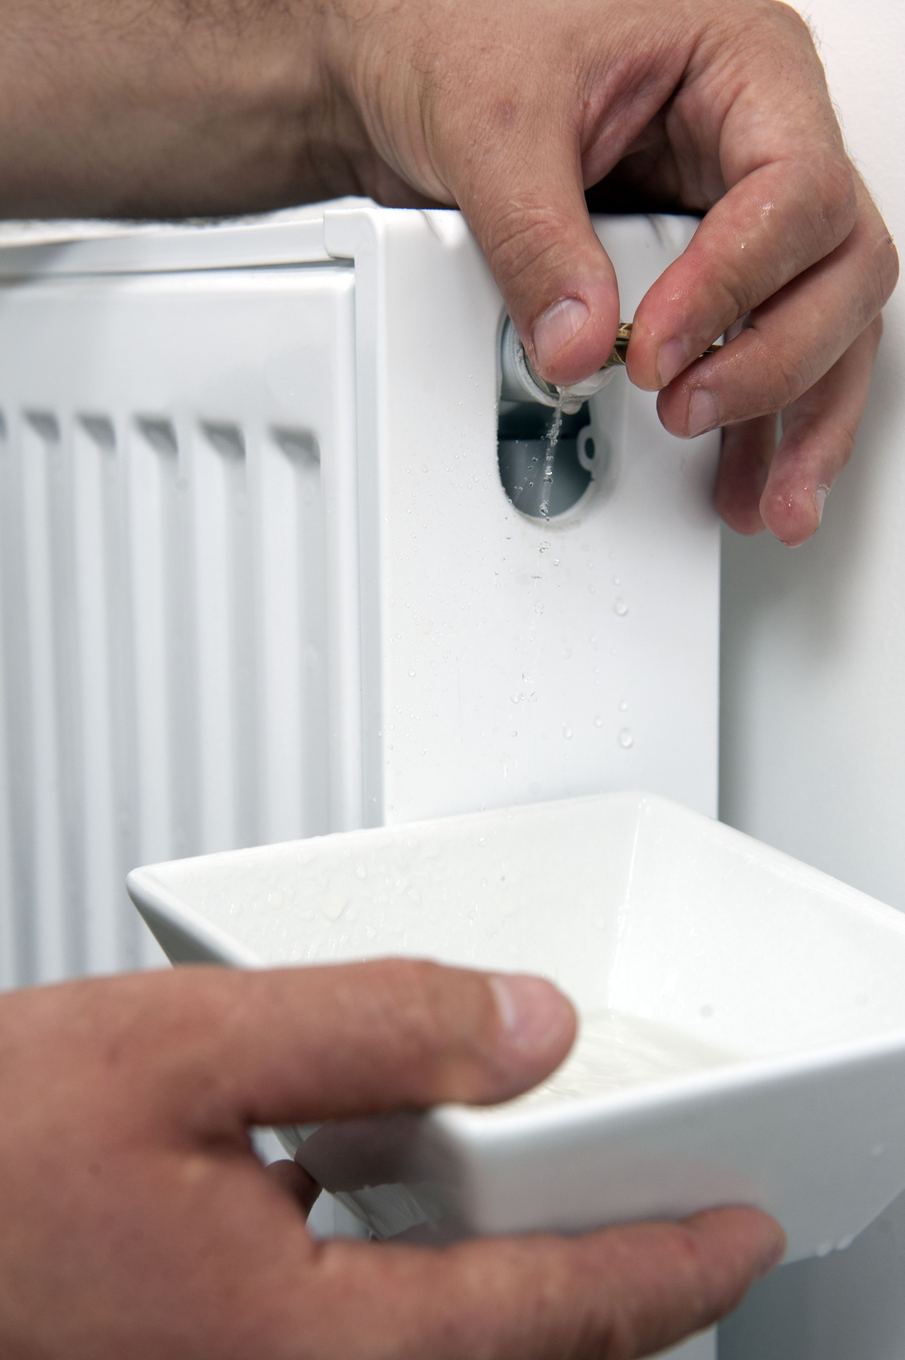
Before a new boiler goes on an old system, the system is cleaned, either with a chemical clean or a power flush that pushes water through each radiator in turn to shift settled sludge.
This step matters. Most manufacturer warranties require a cleaned system and a magnetic filter, and sludge carried into a new boiler is a common cause of early faults.
In with the new
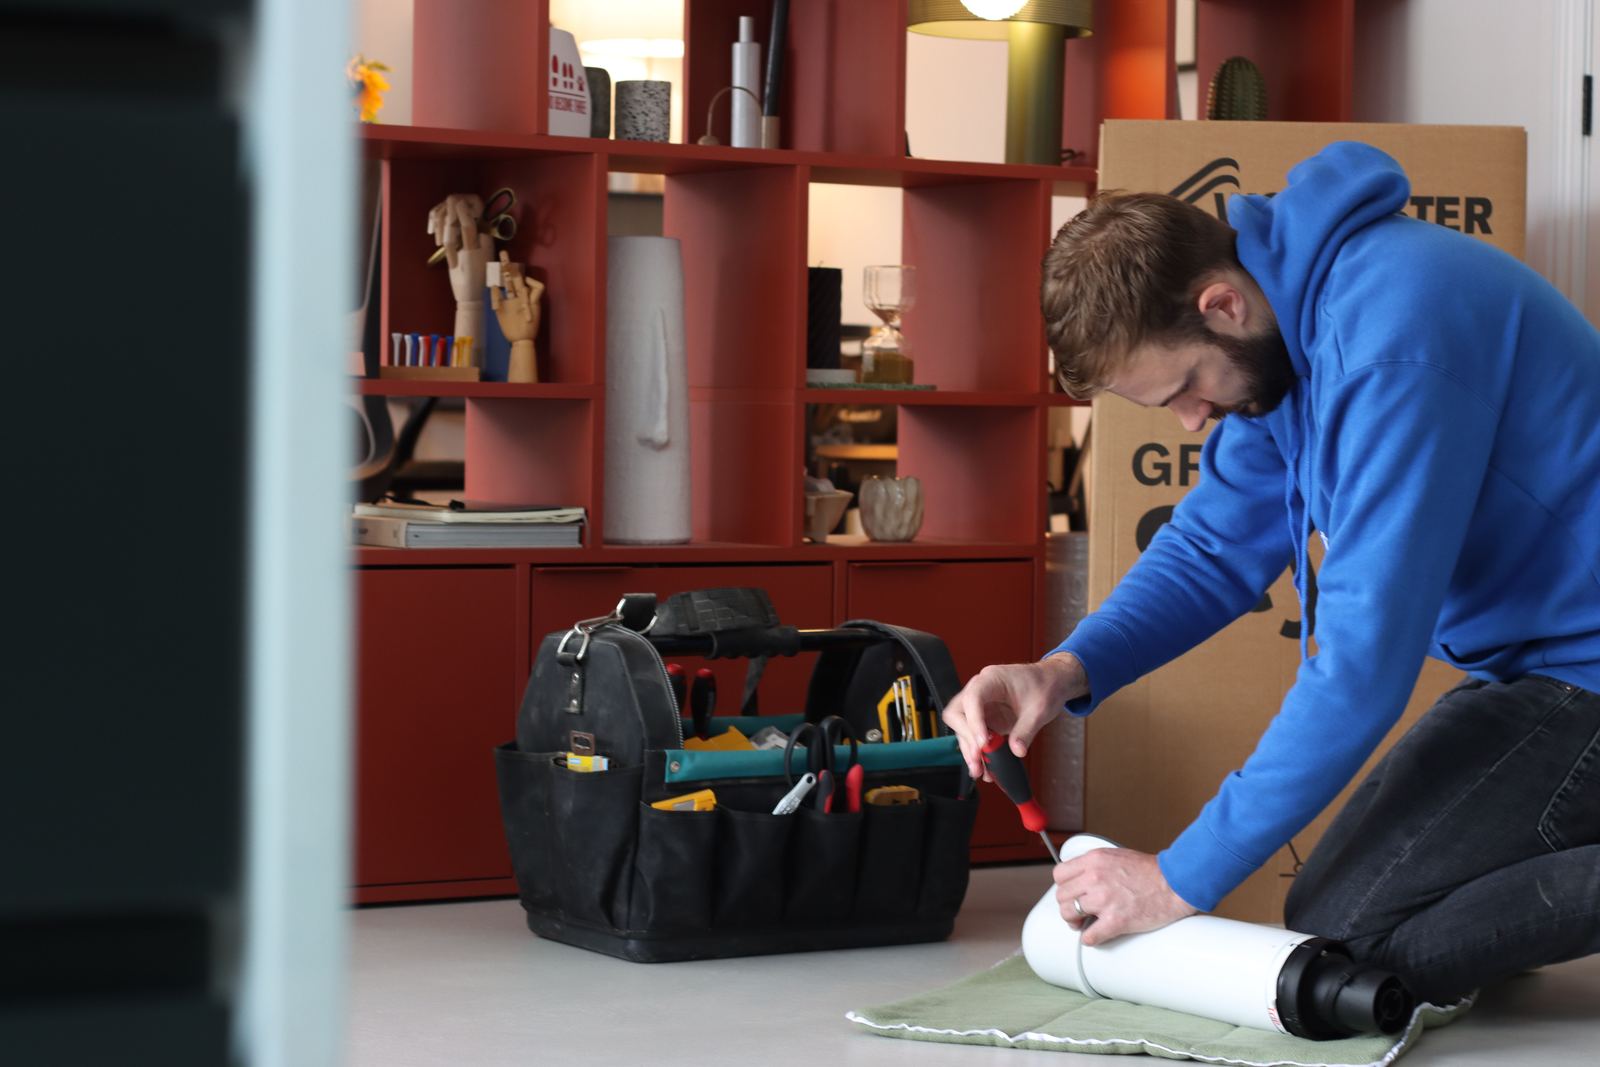
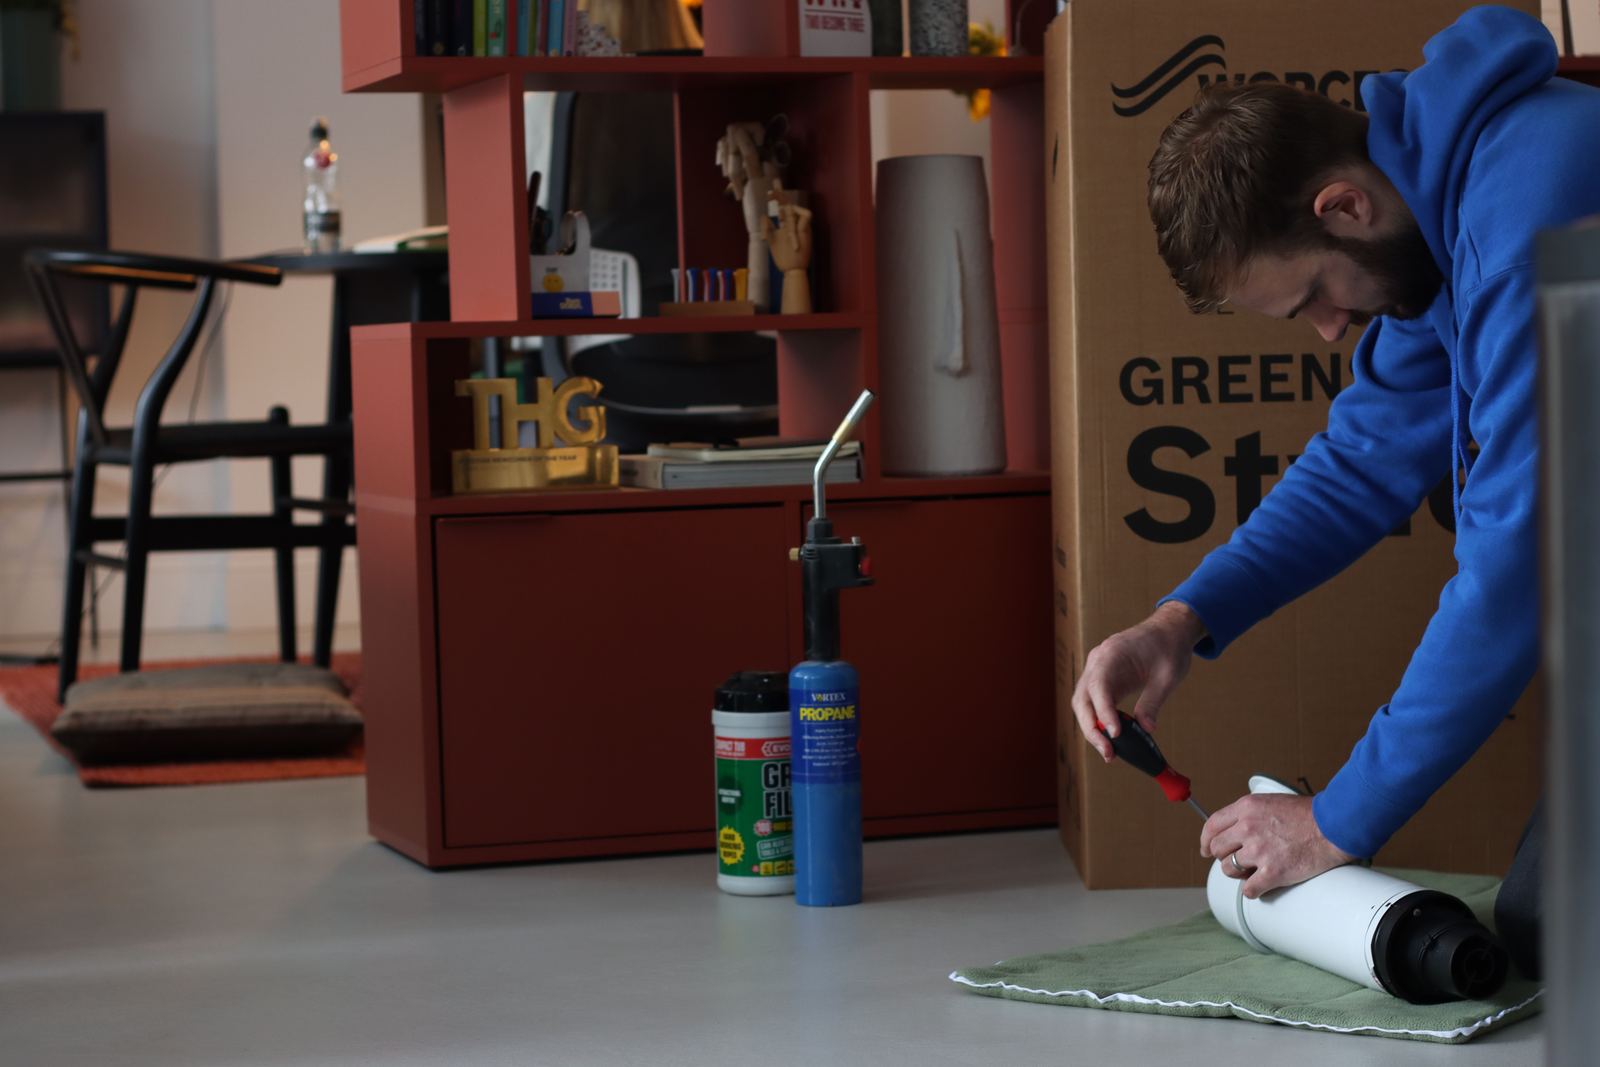
The new boiler goes on the wall, the flue is cut and fitted, and the gas, water, heating and condensate connections are made. The magnetic filter goes on, and the controls are wired back to the programmer and thermostat.
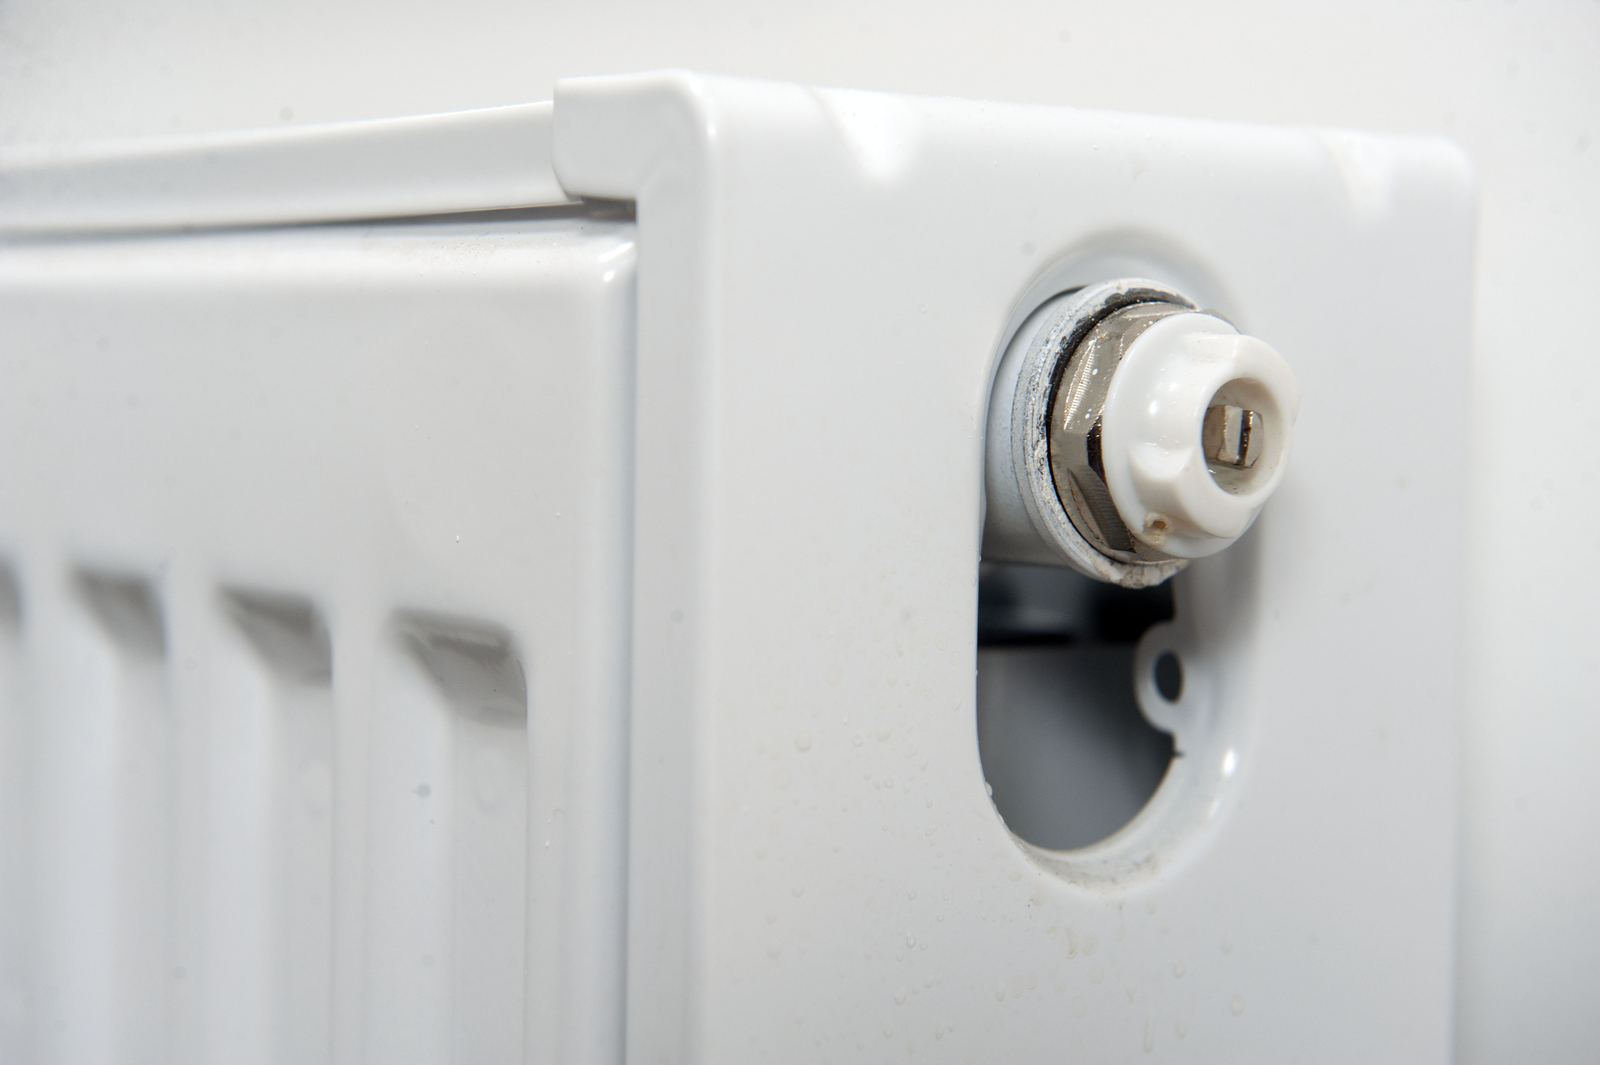
The system is refilled, pressurised and checked for leaks. Expect the installer to bleed the radiators, and expect to do it again yourself a few days later as the last of the air works loose.
Commissioning and handover
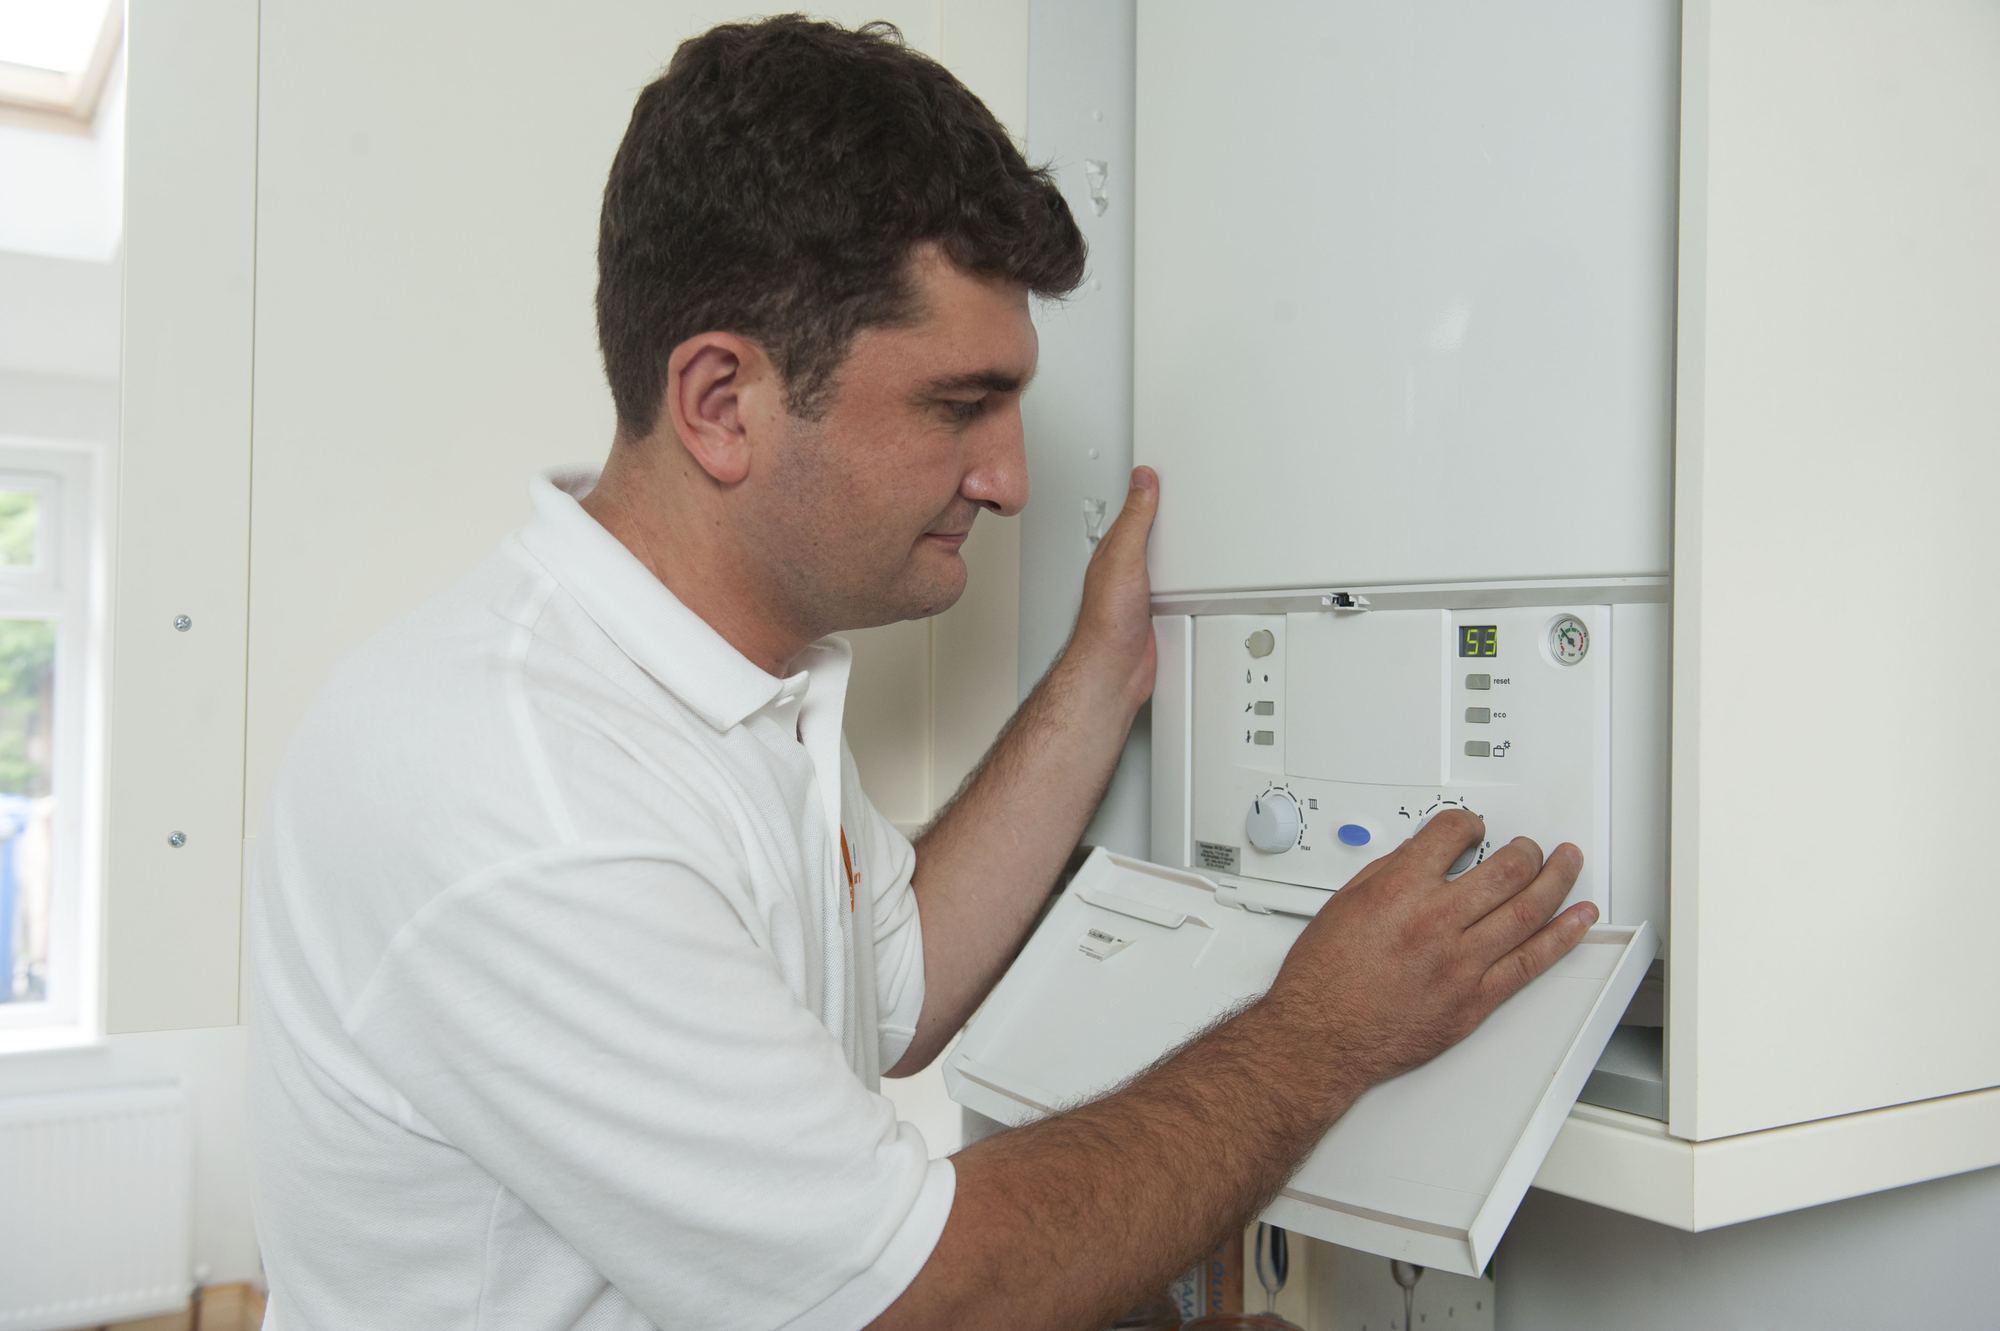
Commissioning is where the engineer proves the boiler works properly. They check the gas rate, test how well it burns, confirm the pressures and test the safety devices.
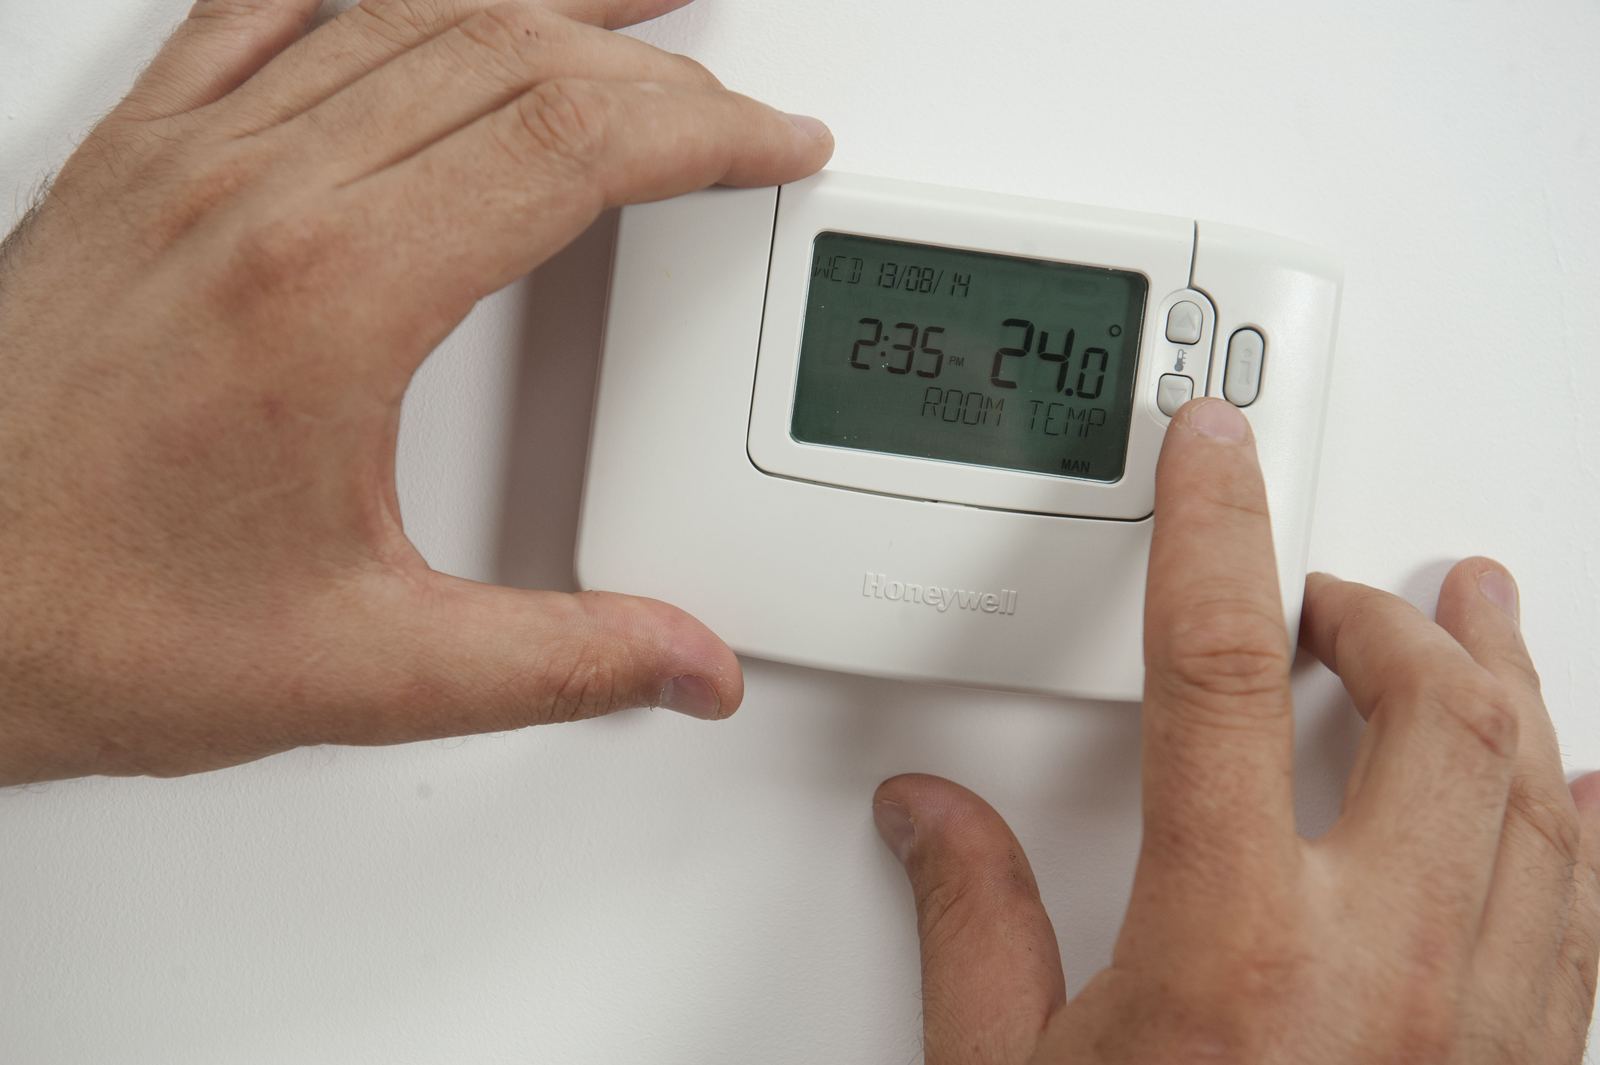
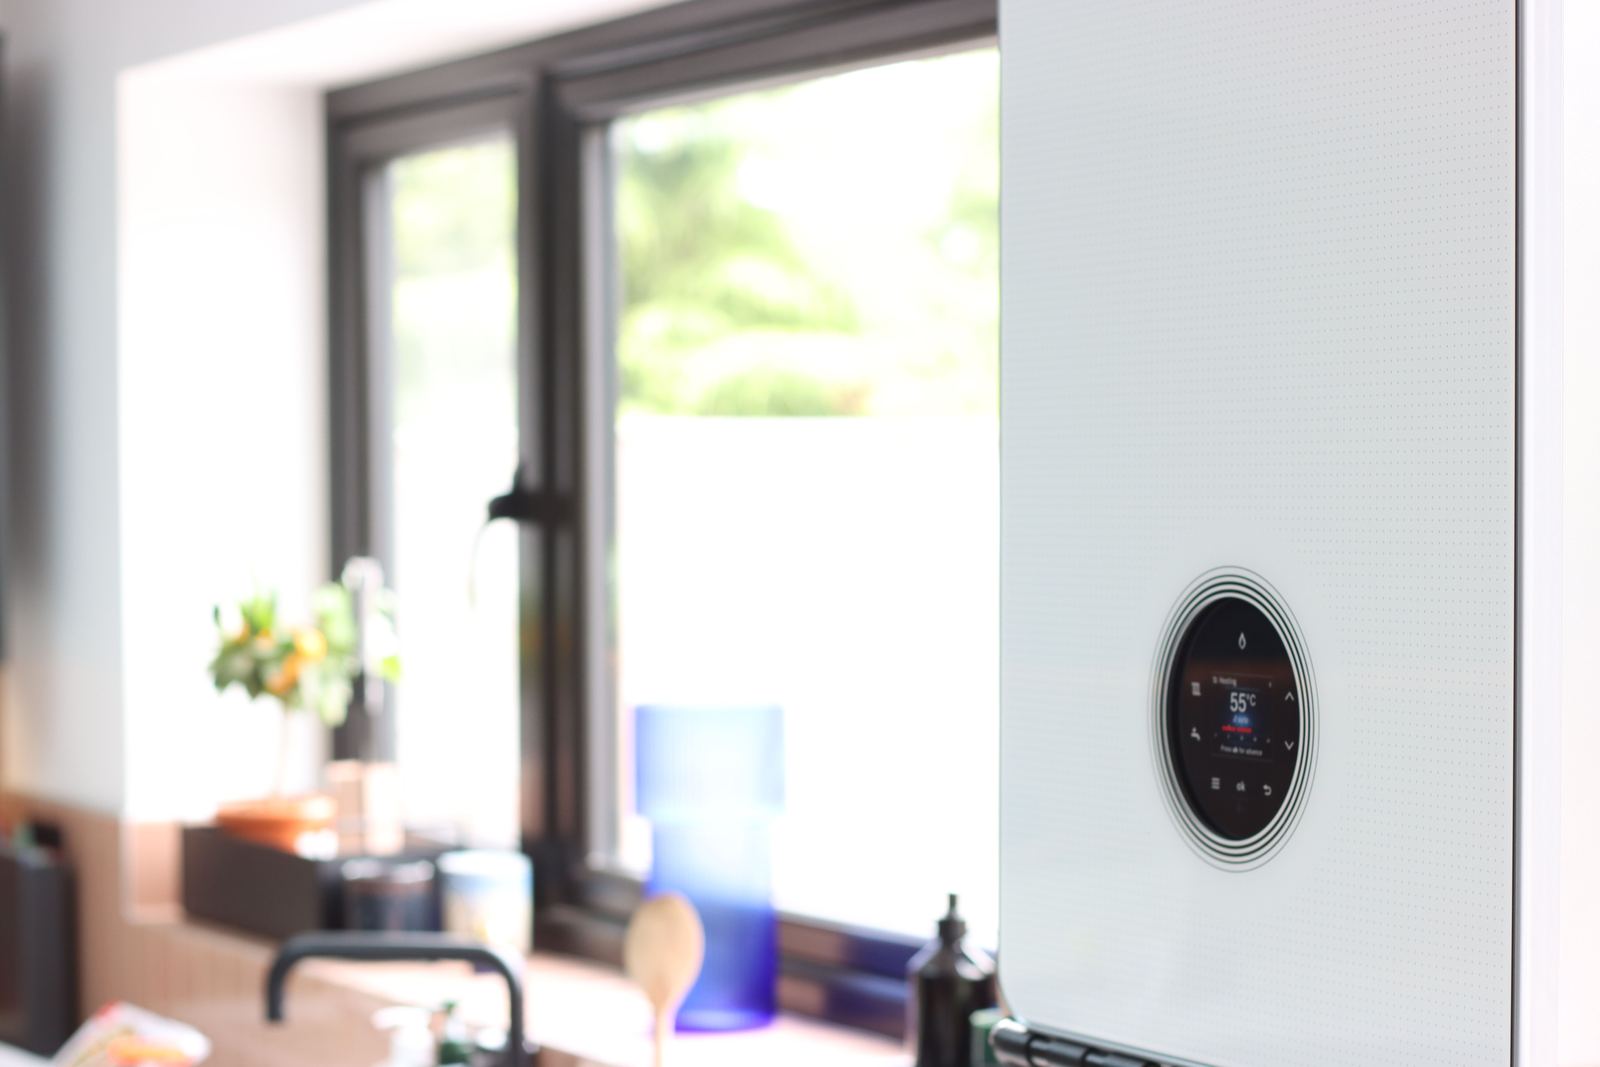
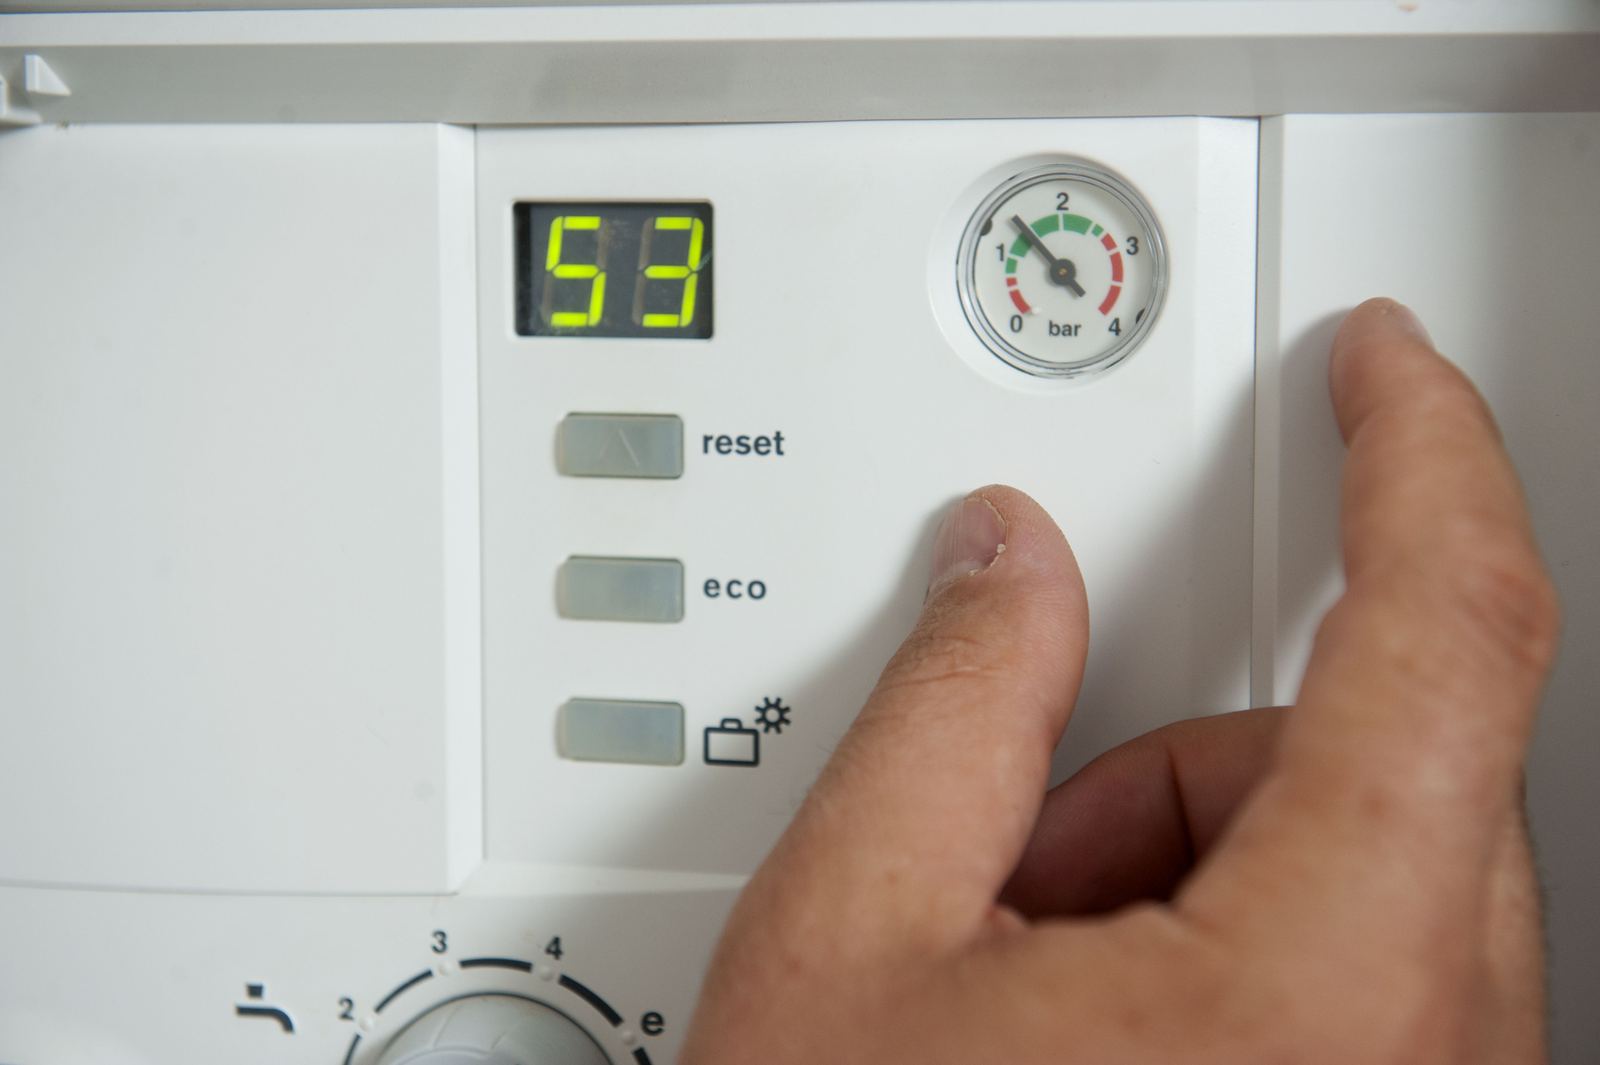
The handover should cover the controls, what the pressure gauge should read, how to top it up and what the warranty needs from you. Ask for a quick demonstration rather than a manual left on the side.
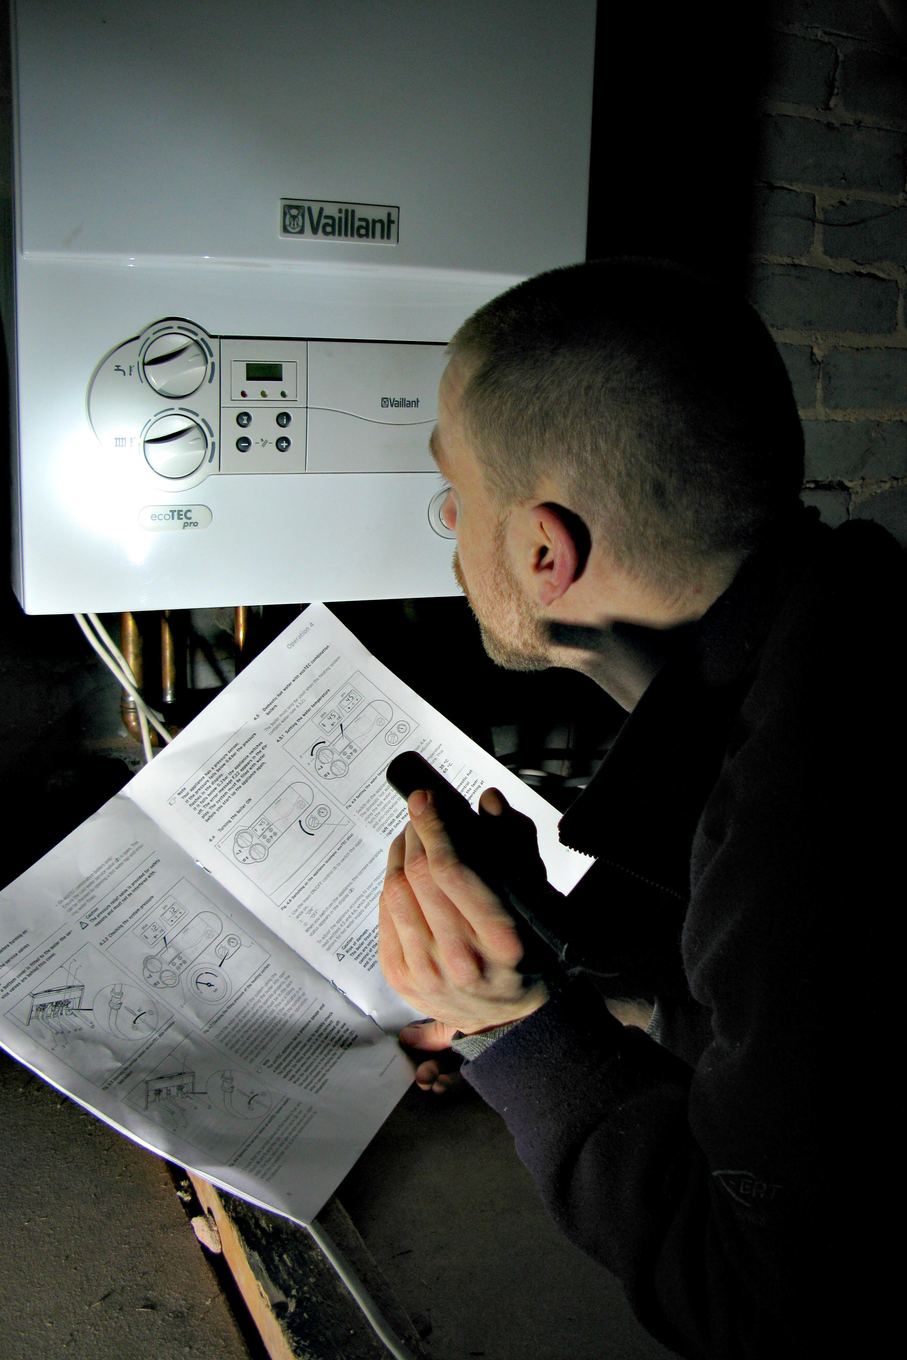
What you should be left with
The completed commissioning record, the manufacturer warranty registered in your name and the Building Regulations notification for the gas work. Keep them together, because a future service or a house sale will ask for them.
Note the make, model and serial number somewhere other than the boiler too. It is the first thing anyone asks when something goes wrong.
The first fortnight
Watch the pressure gauge. A small drop in the first few days as air clears is normal; a steady fall is not, and is worth reporting while the job is fresh.
Bleed any radiator that is cold at the top, then check the whole house. If one room never warms up after a week, say so: balancing the radiators is part of the job. If anything else goes wrong, our boiler repair page explains what to send.